Stretching a Large Scale Canvas
Before starting, gather everything so the process stays smooth:
Stretcher bars
Your canvas
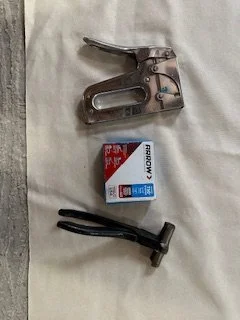
Staple gun
⅜" or ½" staples
Canvas pliers
Rubber mallet
Measuring tape
Square
Scissors or utility knife
For canvases larger than 30" x 40", consider cross braces.
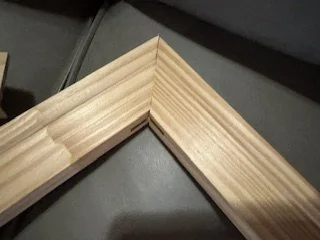
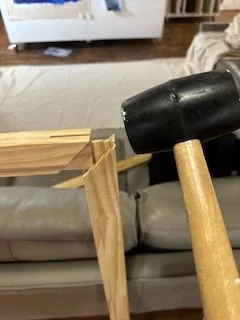
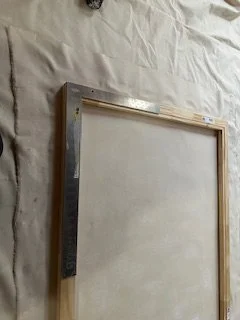
Step 1: Build and Square the Frame
Assemble the stretcher bars and make sure the frame is square before attaching canvas.
How to check:
Measure diagonally from corner to corner.
Both diagonal measurements should match.
Use a rubber mallet to gently adjust corners if needed.
A frame that isn’t square will cause distortion in your painting later.
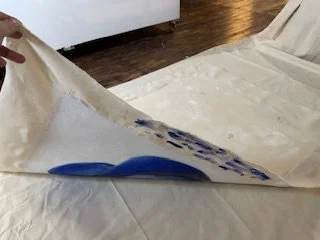
Step 2: Position the Canvas
Lay the canvas face down on a clean surface and place the frame on top.
Leave 3–4 inches of excess canvas on all sides for gripping and stapling. Larger canvases may need more allowance.
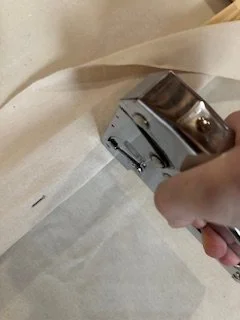
Step 3: Staple the Center Points First
This is the most important step for even tension.
Start in the center of one side and place one staple.
Move to the opposite side, pull firmly with pliers, and staple the center.
Repeat for the remaining two sides.
You should now have four staples — one centered on each side.
Work outward from the center, alternating sides to keep tension even.
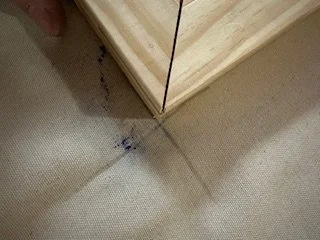
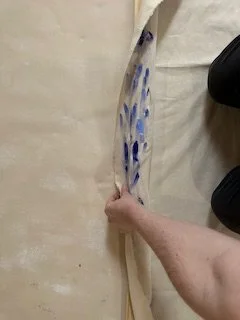
Step 4: Work Toward the Corners
Continue stapling every few inches, always moving from the center outward.
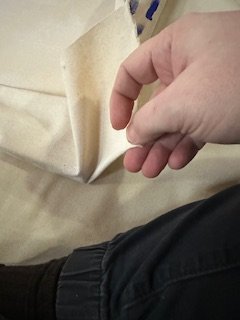
When you reach the corners:
Fold neatly like wrapping a present
Avoid bulky folds
Keep tension consistent
Step 5: Check Tension and Adjust
The canvas should feel tight — but not overstretched.
If needed:
Lightly mist the back with water to tighten natural fibers
Install horizontal cross bar
Tips for Large-Scale Work
Stretch on the floor, not upright, to prevent frame twist.
Use a second person for canvases over 5 feet.